|
For those of you dirty minded bastards who need some clarification, the size of the brush does not matter. It is all in the quality of brush strokes, the power of line, how skilled your mind and arm is. Chinese calligraphy line can be powerful and mighty even if written with a tiny brush. The brush tip, its movement on the paper, the balance, quality of ink and paper, handwriting style, etc. it all comes together in the final artwork. Those are the elements that decide on how powerful your calligraphy art will be. 威 in cursive script - it means might, power, also dignity. I wrote in in one stroke, with a small brush. I wanted to express well defined and flexible line, continuum of movement, but at the same time an airy and light feeling to the whole structure of the character. My Youtube channel with free photoshop tutorials Photography workshops in Tokyo - click for more details. Hire a photographer in Tokyo Buy original Chinese and Japanese calligraphy art Check out my new portrait photography services in Tokyo website! 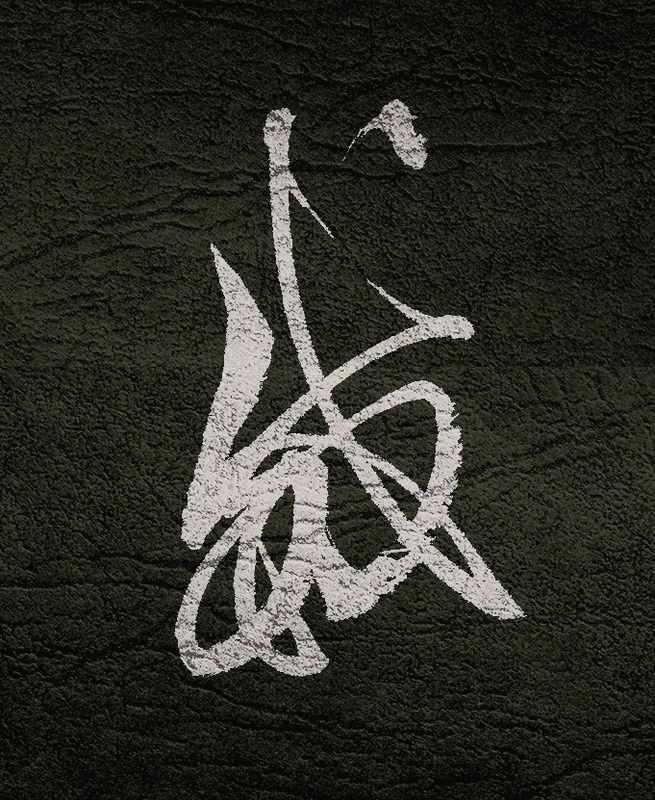 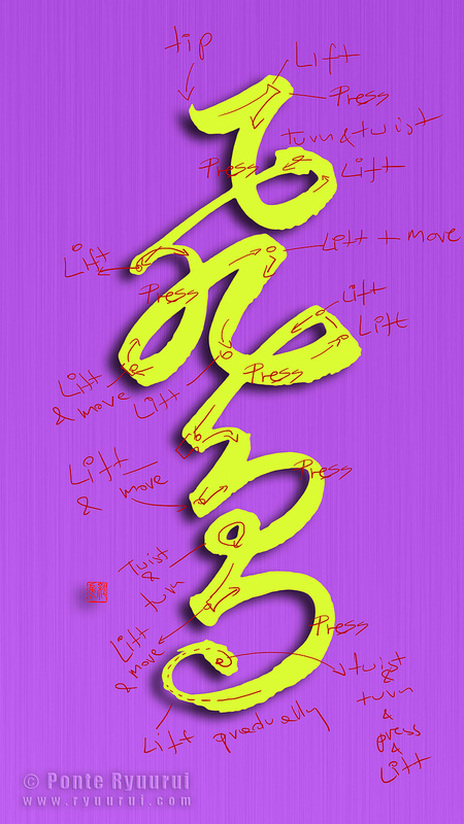 I was writing some calligraphy works for Snow Forest's aroma therapy oil project, and when I created this calligraphy I realised that this is a perfect example for illustrating how does the calligraphy brush tip move during writing.
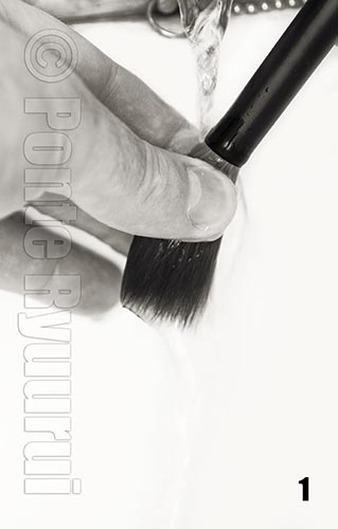
The magic of Chinese calligraphy is based on many factors, but one of the key elements is the mastery of the brush pressure control against the paper surface. This is especially visible in cursive script, which is very dynamic, and the line rapidly changes the direction or thickness. Look at the remarks I made on the pictured single stroke calligraphy work, and note how much is happening from placing the brush on the paper surface to lifting the tip at the end. The brush tip is moving like an elevator, it goes up and down all the time, it also twists and turns, which moves are coordinated with the entire arm, as the wrist barely moves during writing. Those are microscopic movements, but the brush is held at its end of the axis, and the brush tip is at the opposite side. A tiny movement of the calligrapher's arm can cause massive alterations to the brush strokes. Those moves are subconscious, not thought out, and completely intuitive. How does one achieve such coordination? Here is your answer. My teacher was asked once by a student: - Sensei, I cannot write with the hanging arm technique because my hand is shaking too much to which he replied: - It is not your hand that is shaking. Calm your mind, and the hand will follow. That is right. Practice, practice, practice! I found out that writing with the hanging arm technique is improving my skills twice or even three times as fast. Natually, pillow hand and bucket palm, etc. should be taken into consideration during your studies, but hanging arm technique is the bread and butter of calligraphy studies. Do this with a small brush and it will be even more challenging. 間時要有喫緊的心思、忙処要有悠間的趣味 / hanging arm technique, small brush. photo - Mt.Fuji post processed in photoshop 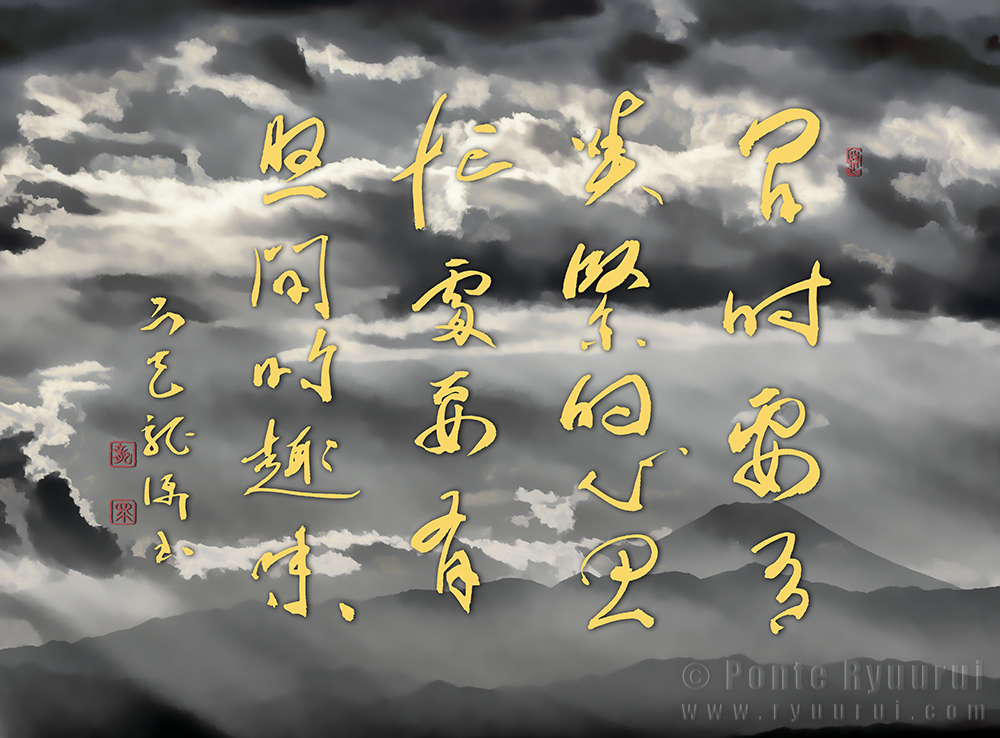 Regardless of how much ink (墨) you have ground for your Chinese or Japanese calligraphy practice, or how long you intend to write, I would advise you not to dip the entire brush tuft inside the ink pool. Chinese calligraphy is supposed to be written with the tip of the brush (1/3rd of the brush tuft length). Naturally, there are exceptions. For example, modern calligraphy or any other over-expressive calligraphy styles, will invite you to writing with the whole tuft. Nevertheless, for calligraphy practicing (i.e. copying Chinese or Japanese calligraphy masterpieces), majority of writing will be executed with the 1/3rd of the brush tuft. Although I will be discussing the anatomy of the Chinese calligraphy brush separately (note: there are types of brushes used in Japanese calligraphy that differ in construction from the Chinese ones), I will mention here that the ink should be loaded into the space located inside the brush tuft, which is formed by longer and shorter hair arrangement. It is called "the stomach" (腹). The ink is stored there and it is being released during writing. The stomach of the brush is located in the upper half of the brush tuft. Thus, writing calligraphy with the lover 1/3 to 1/2 of the brush tuft, makes sense. Brush should not drip with ink, unless intentionally done so. It will case the paper to blur excessively. A paper that is too wet will tear much easier, too. As shown in the video (below), apply ink onto the brush by rotating and tapping the brush tuft against the inkstone (硯) grinding surface, in the direction of the brush tuft hair arrangement. Once loaded, the brush should be sharp and pointy, not crooked, and the tuft surface ought to be smooth and round (no sticking out hairs). The ink used for Chinese or Japanese calligraphy is based on glue, which is often manufactured from animal bones. For this reason, calligraphy brush has to be washed immediately after writing. If the ink dries out on the brush, it will ruin it permanently. The most vulnerable and difficult to wash is the base of the tuft (see picture 1), i.e. the place where the hair is mounted inside the brush handle. This part of the calligraphy brush is where the ink dries out much faster, and it takes time to wash it off.
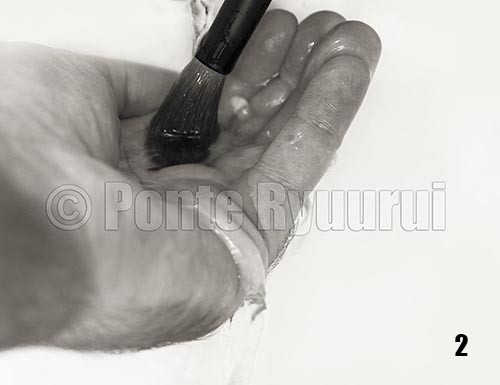
As shown in the picture 1, by the brush should be washed by squeezing the base of the brush tuft under running cold tap water, and without applying excessive force. To allow the tuft to sponge more water inside the part known as "the stomach" (腹), you can fold a palm of your hand into a scoop, and tap the brush inside a shallow pool of water. Brush is clean when the water squeezed out from the brush is clear. Depending on the size of the brush, washing can be quite time consuming. Washing of large calligraphy brushes (15 - 20 cm long) can take somewhere between 30 -45 minutes.
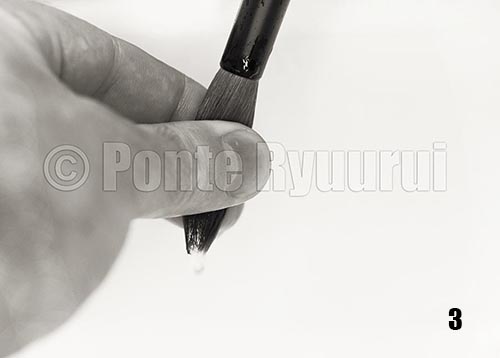
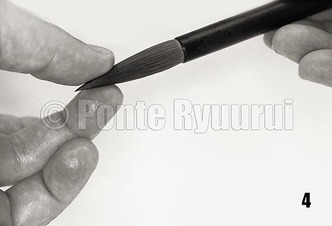
Once the brush is washed, the brush tuft should be formed into a perfectly round and pointy spear. Make sure that the hair is neatly arranged. Finally, the brush handle needs to be dried with a cloth, and hung on a brush hanger, tuft down.
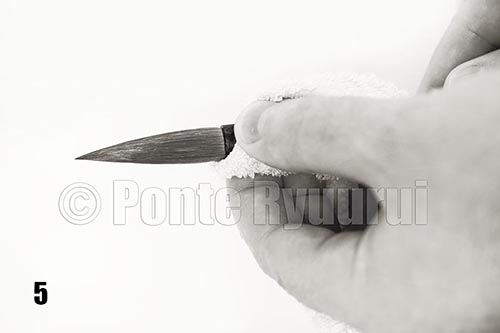
Useful tip: My advice is to wet the calligraphy brush tuft before using (following the steps shown in pictures 1, 3, 4 and 5). I have noticed that if done so, the ink dries out much slower, and it takes much shorter to wash the brush (ink is kept moist in the entire tuft). 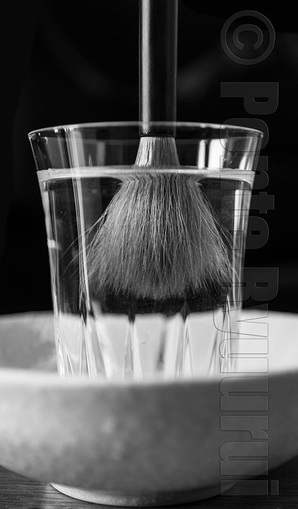 Chinese calligraphy brushes come in two major types. One type has the hair glued in a form of a spear, and the other has the hair released.
The brushes with the hair glued in a form of a spear need to be cleaned prior to using them for writing calligraphy. If the glue is not removed entirely, it will affect the brush life span, the quality of the brush strokes, and the ability of ink spreading. The glue should be removed by submerging the 3/4 to 4/5 (but never the entire tuft) of the brush a glass of tap or mineral water. The water should be cold or cool, never warm or hot. Hot water will ruin the hair and weaken the hair tips. The brush should be submerged for at least one hour. Then, the remaining glue can be easily washed off under running tap water. Some sources suggest washing the glue under running water, which is not completely incorrect, however, there are two dangers. One: the glue might not be removed completely, and two: the hair in a glued form are stiff and easy to break. Damaging the hair of the brush tuft may ruin the brush ability to deliver clear and crisp, or uniform brush strokes. Some of the brushes can be very expensive (a few hundred dollars and more), thus the knowledge of brush maintenance is crucial. |
Categories
All
AuthorPonte Ryuurui (品天龍涙) Archives
August 2020
|
 RSS Feed
