 When I was younger I hated school with passion. Not because I do not like to learn, quite the contrary, simply school was too intellectually confined, lacking finesse, and rather dull. I teach photography art the same way as I would like to have learned when I was a kid. I teach not what I know but whatever is that interest you, bearing in mind your current level and skill. I also teach with the vision of post processing and image retouching, as I believe that post processing is equally, if not more important than taking photos, and I really mean that. The technical side of photography, like setting proper ISO, shutter speed and aperture is not that complicated, and sooner or later you will pick it up naturally with practice. Photography is an art, not a geek show. Leave the technicalities to those who cannot see a bigger picture. The most essential thing to master in photography is understanding the light (with the exception of portrait photography, in which case you also need to understand human psychology, to be able to evoke or comprehend their body language and reactions). You have to fall in love with light, learn how to adjust to it or control it. Light determines compositions, both during night and day. Photography does not exist without light, and good photography does not exist without understanding of how to capture it. I put a huge stress on composition, not in a technical sense, I rather emphasize the artistic feel of composition and how to sense balance in the image. I teach how to find a photograph in a mess of nothingness, a scene that is loud and convoluted, how to appreciate art in what you thought was mundane, how to see and compose with energy and aura of a scene, rather than place items on the crossing lines of rule of thirds, because the book or article told you to do so. In addition, I also teach post processing and advanced photoshop manipulation online via desktop sharing, so once you return home with your images that you took in Tokyo or any other place, we can continue the education through the internet. My experience and scope as an artist goes far beyond photography, which allows me to see a much bigger picture. I do not just teach photography, I teach art. Contact me for details here. Available photography workshops: portrait photography, street photography, architecture photography and night photography.
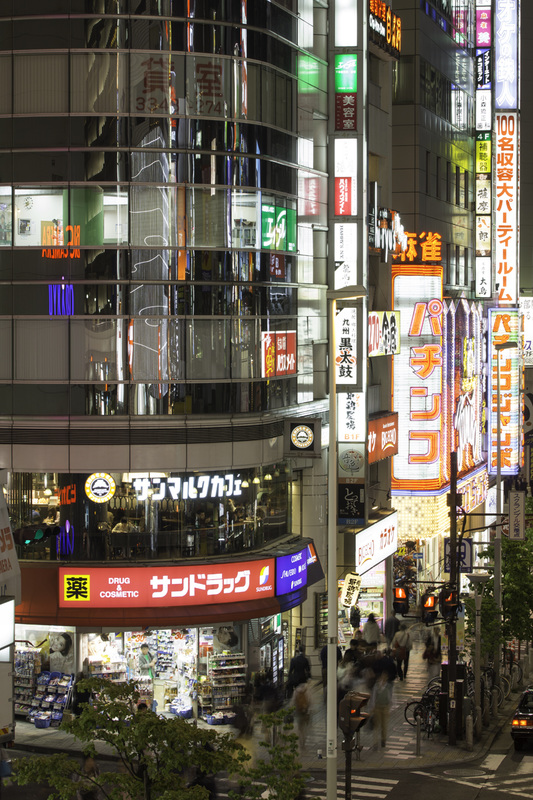
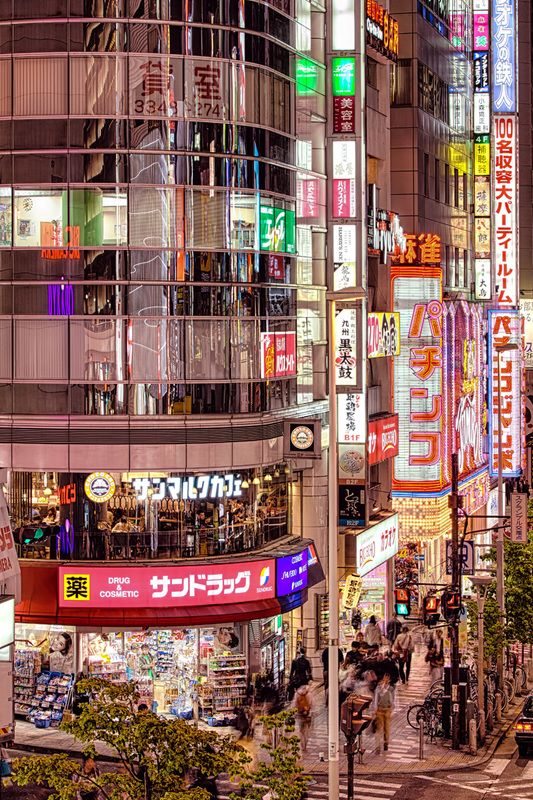
My Youtube channel with free photoshop tutorials Photography workshops in Tokyo - click for more details. Hire a photographer in Tokyo Buy original Chinese and Japanese calligraphy art Check out my new portrait photography website! HDR stands for High Dynamic Range and in photography it usually refers to a scene that has a massive differences between the dark and bright tones. Unlike a human eye, most of the digital cameras, or any cameras, cannot capture extreme dynamic range scenes, though the technology is drastically improving (Alpha Sony 7s comes to mind). So if you cannot dish tens of thousands of dollars for a medium format camera, then HDR editing software is the way to go, or at least it was for me. I used to work with Photomatix and HDR efex PRO 2 from Google software, but to be honest I never was fully satisfied with the results. The process is mostly automated and relatively fast, even if you will make final adjustments in photoshop, but when I started to manually blend layers in photoshop, my photos are clean, artifact free, without any crazy micro contrast or fake looking pale washed out colors (mainly red). Below is a short video that I made today, I am revising some of my older photos and I re-edit them. You can see below the RAW file, then my old HDR edit, and at the very bottom a manually blended image. For full length tutorial on manual blending see my 50 minute long video here. My Youtube channel with free photoshop tutorials Photography workshops in Tokyo - click for more details. Hire a photographer in Tokyo Buy original Chinese and Japanese calligraphy art
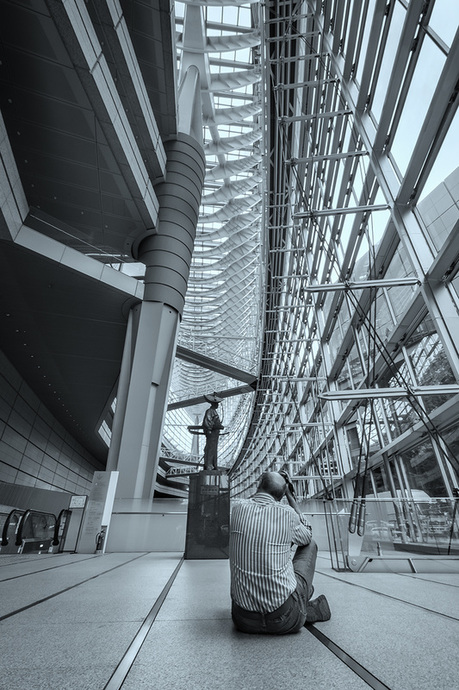
Manually digitally blended image 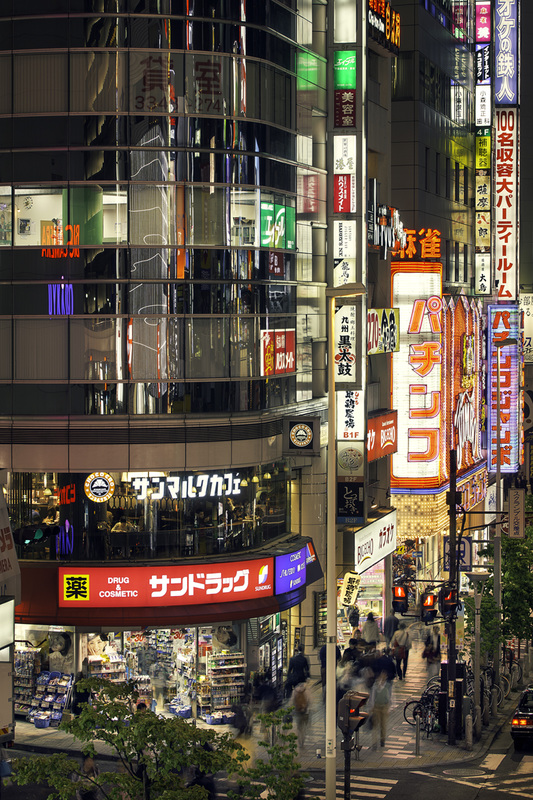 In this video I am showing you my entire workflow of fine art black and white photo conversion in photoshop. This is a sped up video, but even so it is easy to follow and understand all the steps. I am using pen tool for selections and blending 3 different exposures, then I am adjusting colours and contrast, and finally I add two small birds to the photo, so you can see some elements of composite photography. Last steps are a conversion into black and white in Silver Efex Pro and I add a vignette. If you are into black and white photography, I have yet another video tutorial on the subject, with commentaries. My Youtube channel with free photoshop tutorials Buy fine art photo prints at my store on SmugMug. Photography workshops in Tokyo - click for more details. Hire a photographer in Tokyo
Here is my next photoshop tutorial. This time I am giving you guys a simple tip on levels adjustment layer, and how to use them in conjunction with masking and digital blending. Recently I create more and more fully manual HDR images, I still use Photomatix and HDR efex pro 2, but not as often as I used to. It seems that manual blending, although more time consuming, produces (most of the time) better results or me. Levels in photoshop is a simple but very powerful tool, just like curves. I use levels and curves when editing nearly every photo. It is good to know how it works. Enjoy the video! My Youtube channel with free photoshop tutorials Buy fine art photo prints at my store on SmugMug. Photography workshops in Tokyo - click for more details. In this video I will show you my full workflow of how I deal with complex backlit cityscape photos. I am editing photo that contains 3 levels of depth: city at the back, bridge half way between the city and the camera, and a view deck with people just in front of me. In addition the photo is backlit during sunset hours. I will be dealing with ghosting, manual digital blending from a few exposures, removing unwanted objects with clone stamp tool and healing brush, using some content aware fill, too. I will be changing colours and saturating the photo selectively, using pen tool, and other selection tools. I will also work in Lightroom and Photoshop together, and finish it all off with some filters from Topaz and Nik (current Google software). Video tutorial on how to digitally blend images in photoshop - full workflow with many great tips Buy fine art photo prints at my store on SmugMug. Photography workshops in Tokyo - click for more details. Here is part 2 of my in-depth tutorial on how to create realistic HDR photos. In part 1 I mainly used Photomatix and then I made a few simple adjustments in photoshop. Part 2 focuses mainly on my workflow in photoshop, though I also add a few adjustments in lightroom. Part 2 is mainly about contrast and colour adjustments, then manual blending of certain areas of the photo from other exposures, adding a few filters from Topaz Labs and Nik software, and then blending those effects with the photo layers in photoshop. Last part of this video is about perspective correction. Part 1 and 2 together are a full on in-depth HDR photo tutorial, so if you are into HDR photography, I hope you find them helpful. Enjoy! This is part 1 of two video series on creating realistic HDR images in HDR software and photoshop. Although I am using HDR Efex Pro 2 as much as I use Photomatix, this video is about the latter, and then part two focuses on adjusting details in photoshop. I have a separate video on digital blending, which is a fully manual process used for creating HDR photos, and ou can watch it on my Youtube channel. HDR is great for creating amazing phoptos when your camera cannot capture the entire dynamic range of the light that is present in the scene that you captured. Blending a few exposures is then essential to be able to bring all the details back. Whenever you lift your camera to your eyes and think of taking a photo you should already know which direction you want to go with it artistically speaking. When I press the shutter, I have a complete vision of the final shot. I usually know exactly what I want to do with it in postproduction, whether it will be an HDR image, or a straight forward editing in photoshop, I can see those final touches in the RAW file before I apply them. Having a vision is crucial in any type of art. Night photography is fantastic for this, as you need to take your time. Use the tripod to slow things even more. Compose, align, feel the scene, read the light, dive in the shadows, and live the scene. This video tutorial discusses my thought flow reasoning behind taking photos, and then the editing process. Incidentally, if you want to watch a detailed tutorial on digital blending, then watch this movie here. In this tutorial I will show you my full workflow and how I created this image of a night scene in central Tokyo, that I took yesterday. The video shows not only what I do but also why I do it. Digital blending is a very powerful though time consuming technique, then again, if you want to bring your photo editing to another level, the best shortcut is no shortcut at all. Digital blending is a fully manual process, where an HDR photo is created from scratch, by masking and blending a few exposures in photoshop, or any other program that allows it. All of my HDR photos are manually blended to some extent, even if I am using HDR Efex pro 2 or Photomatix to creat the HDR image base. I find that digital blending give the best and most realistic results, though as I said, it can take time and requires patience, even though the technique itself is not that complicated. Final photo in full HD can be viewed here. HDR stands for Hight Dynamic Range, and it is a method quite common in today's photography. HDR concept is based on capturing few different exposures (usually it is 0, +2 EV and -2 EV, where EV stands for exposure value). So what does this mean? Well, human eye can see 11 stops of light, or more, whereas camera can see only 3 or 4. So when you stand staring at the sunset, your brain will register much wider range of light (dynamic range) than the camera. So, by capturing and merging together different exposures, one can create a photo which has much more data in both highlights and shadows. In this video tutoprial, I will give you 10 great tips on how you can improve your HDR photography experience. If you want to watch a full length tutorial on HDR image editing, please see this video. My new photo editing tutorial on how to transform the mood in your photo into a steampunk coolness. In this video I am working on a photo that I published in my article on Japan in Photography, which you can find here. Also, check out my other video tutorials. I have launched a new menu on my website, titled "photography tutorials", where I will be posting my youtube channel videos on photography techniques, and image post processing. I plan to cover many various subjects in my videos, though my main focus will stay with HDR image capturing and post processing, as well as the photo processing software, such as HDR efex pro 2, photomatix, photoshop, lightroom, topaz and nik software products, and so on. You will find there both short and long video tutorial for beginners, intermediate and advanced levels. In the future I also might venture into photo manipulation, composite photography and digital art. You can find all my videos on youtube channel, this site here, or my google+ account. Suggestions, ideas, and requests are more than welcome! For cool daily photos from Japan, visit my blog at www.japan-in-photography.com! |
Categories
All
AuthorPonte Ryuurui (品天龍涙) Archives
August 2020
|

 RSS Feed
