|
Take care of the small things and the rest will fall into place. Shadows are one of those "small " things. To tell the truth shadows are everything when it comes to photoshop manipulation. In one of my previouis articles titled " How to start with photoshop manipulation and composite photography " I have mentioned the most important elements of composite photography but I think that shadows are so important they just deserve a separate article. In any photoshop manipulation that is a collage of few photographs or 3D models, etc. you will have to deal with perspective, lighting and colors. Now, perspective and color matching are extremely important, but if you do not get the shadows right things will look completely off. You can still get away with mismatched perspective and colors, but if you mess up the shadows then your photoshop manipulation will look fake. And by shadows I also mean the lighting, because there is no shadow without light. You simply cannot separate those two. 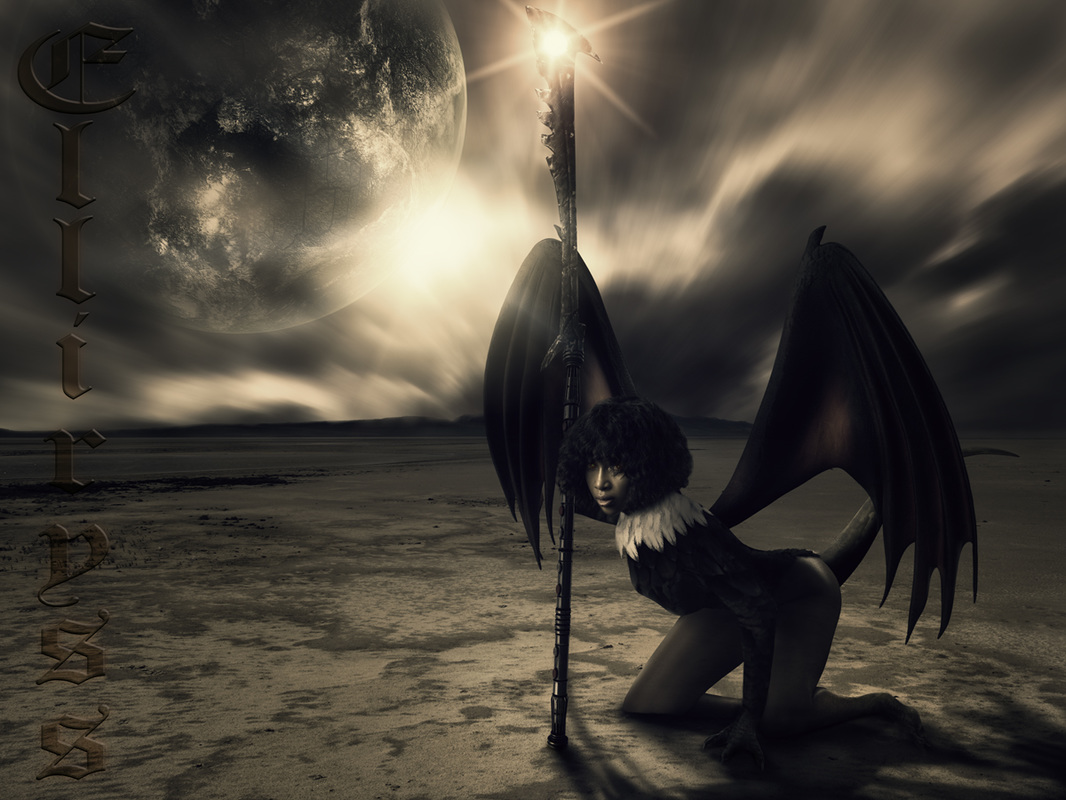 model: Apple-Nicole Shadows are complex and the more light sources you have the more taxing your job will be to have those shadows being cast correctly. You have to match the light direction on all the pieces of the photoshop manipulation puzzle, i.e. all images have to be lit from the same angle and with similar strength and color, but then if you decide to add your own light sources you will need to take that into consideration. The best way to do it is to build around your subject or model. Some people like to start with the background, mostly those who are not using their own model images. If I create a photoshop manipulation with a person in the photo then I always use my own images. I know how I lit them, what lens I used, what perspective I shot from, etc. But it does not really make things any easier, the only advantage is that I can work on RAW files and get as much info out of them as possible, but I still need to create my own shadows. When you create shadows in photoshop pay attention to light direction, light strength, number of light sources and the light ratio between them (which one is the key light, which one is a back light, etc.), angle of light (low angle light will cast longer shadows, just like a sunset or sunrise). you also need to consider how shadows affect the textures (textures are less visible when in shadows), color temperature (shadows are colder, so often have blue-ish cast), then there is length of the shadows and their definition, so you will have stronger shadows near anything that casts them and they will dissipate the farther they cast. Shadows have shapes and if they are cast over other things in the image, they will wrap around them and become deformed. Stand near a wall and place a light behind you and you will know what I mean; the shadow on the floor will be different than on the wall. Warp, puppet warp, distort and skew will be most helpful tools there. Last tip that I will give you is extremely important. Build shadows in layers. Do not try to do it in one go, it won't work. Just like with skin editing, or any type of photo retouching for that matter, the more detailed and patient you are the better results it will yield you.
Contact me directly for one-to-one online photoshop tutorials via desktop sharing. Portrait photography service, Tokyo - website http://www.portrait-photography-tokyo.com/ Photography workshops in Tokyo: http://www.ryuurui.com/photography-workshops.html Hire a photographer in Tokyo: http://www.ryuurui.com/hire-a-photographer-in-tokyo.html Photo blog: http://www.japan-in-photography.com/ Facebook: https://www.facebook.com/ponteryuurui Twitter: https://twitter.com/PonteRyuurui Google+: https://plus.google.com/u/0/+PonteRyuurui/posts For more tutorials and how to videos check out my photoshop and photography tips and tricks YouTube channel: https://www.youtube.com/channel/UCEOVGZ2rpLhR7gSPvaexxxQ |
Categories
All
AuthorPonte Ryuurui (品天龍涙) Archives
August 2020
|
 RSS Feed
